Are you looking for ways to engage your kids beyond technology? Then I have you covered!
These are my favorite kid-approved experiments with items you probably already have at home. All of these were done outside because they’re particularly messy, but as with baking (at least for us,) it’s more fun when we’re making a mess.
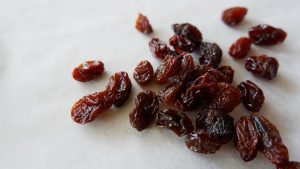
Dancing Raisins
Fill a glass halfway with warm water and add two heaping tablespoons of baking soda. You’ll want to leave enough room in your glass to see a good amount of overflow. Next, add your raisins and top off with white vinegar. You’ll begin to see the raisins rise and fall and as they’re performing you can explain that the vinegar and baking soda are reacting to each other, forming carbon dioxide. The little bubbles they’re seeing collecting over the surface of the raisins are CO2 and since CO2 is lighter than water, it rises to the top, taking the dried grapes with it. The bubbles will pop at the surface, sending the raisins down again. You get to watch again and again!
Fruit and Density
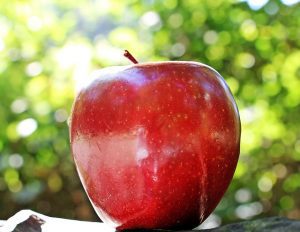
Don’t wait for fall to play with apples (and other fruit!) A great way to explore density is with two of lunchtime’s favorite fruits, apples and grapes. Apples may look and feel heavier in the hand than a grape, but with this experiment your little scientist will learn that grapes are actually more dense than water and that’s why they sink to the bottom when added to a container filled with water. In hand, they’ll learn that the heavier looking apple is less dense than water and that’s why they bob up after being pushed down. This video was silly, but it gives kids a good visual of other items that will sink or float.
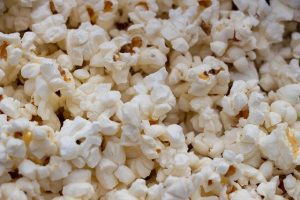
Paper Bag Popcorn
All three states of matter are included in this buttery experiment. The kernel is our solid, the droplet of water inside of the soft starch is our liquid, and the steam that builds inside each kernel before bursting is our gas.
You’ll need a brown paper bag filled with 1/3 cup popcorn kernels. Fold the bag down twice and microwave about a minute and a half. Depending on your taste, season as you wish. We added melted butter and popcorn seasoning to the bag and shook. Let your kids help, and you have an experiment AND a snack!
Diet vs. Regular Soda
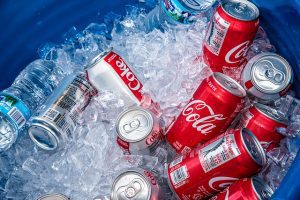
We’re not talking about the age old how do you take your soda debate; we’re talking about which can will sink and which will float when you place them in a container of water. With this no-prep density and buoyancy-related experiment, your child will learn that though the cans are the same volume, the can of regular soda sinks because its high sugar content makes it more dense than the can made with artificial sweeteners. It takes less artificial sweetener to sweeten your favorite diet soda of choice, so the can with less “stuff” packed into it rises to the surface.
This was one of my favorites not only because of its absolute simplicity, but because it was such a wonderful visual demonstration of the differences between two items than on the outside appear identical.

Diet Soda and Mentos
You can find some pretty entertaining YouTube videos on this experiment! I particularly like the videos that set up the liter bottles in performance-like style.
When we did this one, we had two liters of diet soda on hand. I’m glad I did because the first explosion wasn’t all that impressive. When you’re prepping for this one, make sure you purchase the original Mentos because the coated ones don’t give the CO2 bubbles the same pits to cling to. This is actually a fancy term called nucleation, and it was so fun telling my husband that we did a science experiment involving nucleation.


